Adventures in etching - part 1
If I want to call myself an artist, I should make time to learn things, and to experiment with new subjects and techniques. It’s so easy to accidentally spend all of my time trying to sell pictures and keep up with the admin that running a small business involves. But very occasionally I let myself have a play, just for the fun of it..
Discovering drypoint etching
It all began when myself and my sister treated ourselves to a day’s printmaking workshop in North Yorkshire, run by the talented printmaker Hester Cox.
My sister made a really effective pebble tower picture using linocut techniques. I tried the linocut but found I couldn’t get the immediacy or the fine detail I was craving. Then we moved onto etching and I was enthralled.
This was my first go. Esther showed us how to draw onto the inside of a Tetrapak carton using a pointy etching tool. Special ink is wiped across the surface of the drawing and then removed with various screwed up bits of cloth so that only the etched areas retain the ink. When fed through a printing press (basically a mangle), the inked areas are printed. We were also shown how to use sandpaper and various tearing techniques to create extra texture.
I am addicted
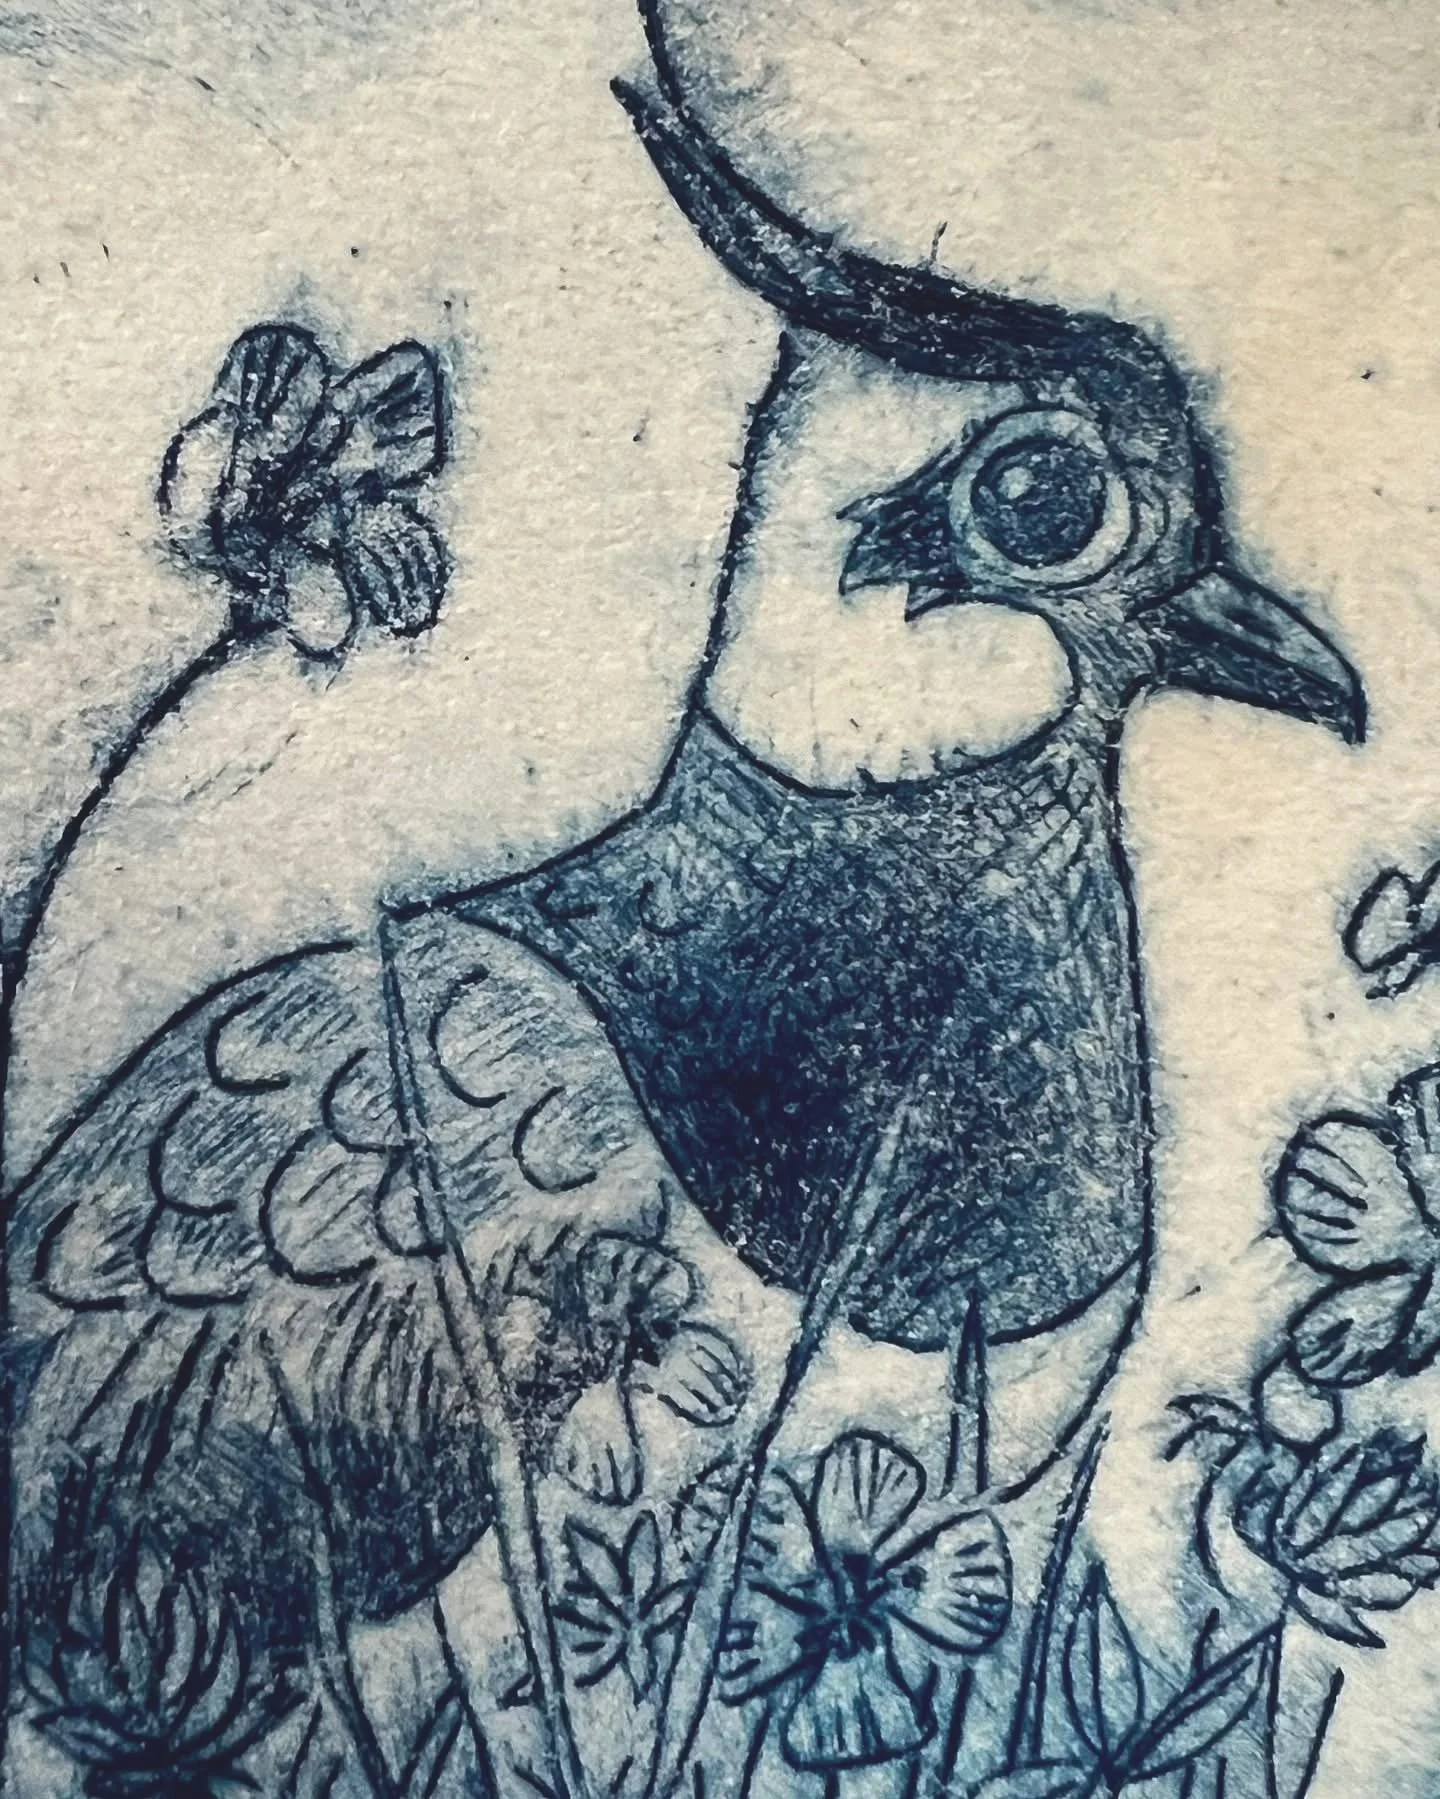
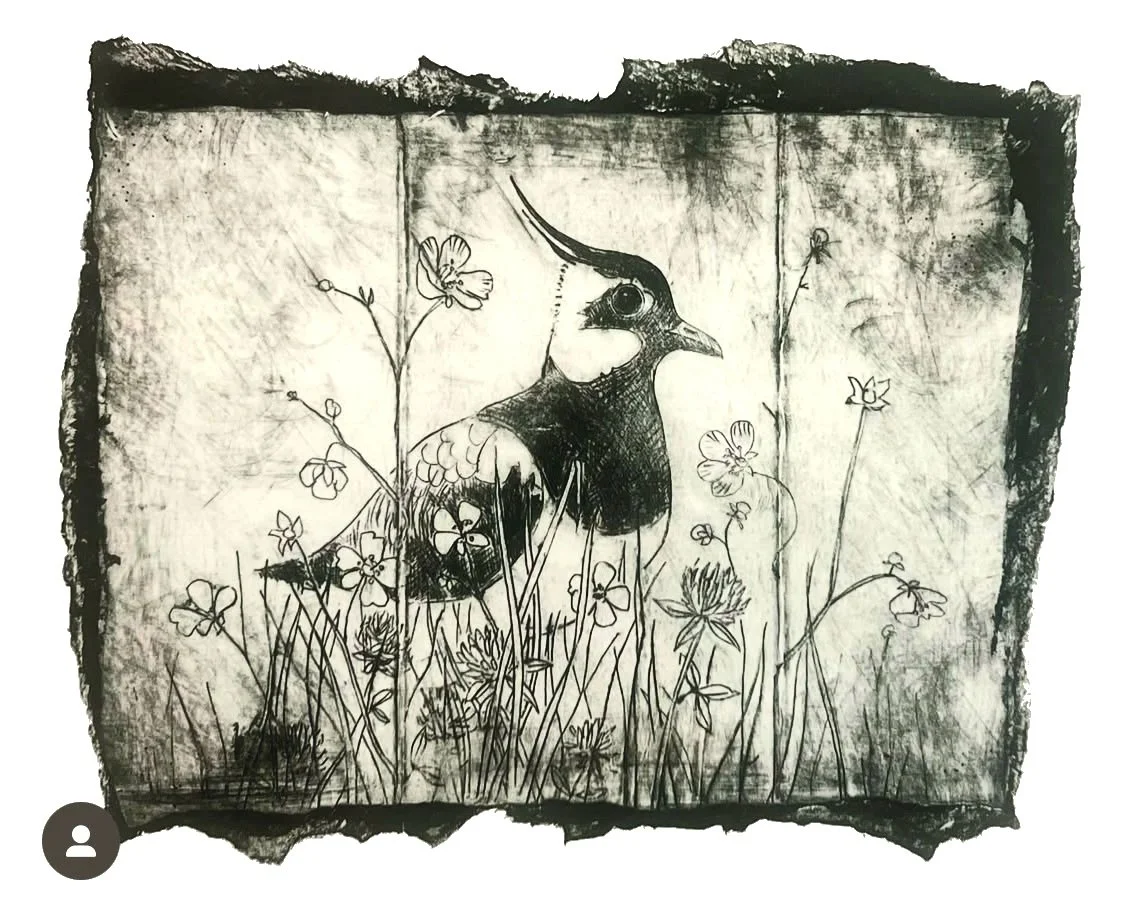
I decided pretty much there and then that drypoint etching is for me, and have spent several happy and very messy days experimenting with it in my studio. I’ve been lucky to have the loan of a small printing press while I figure out what type of equipment I’m going to buy, and here is my first go at it..

For this tiny lapwing, I experimented with varying amounts of pressure and colours of ink, with varying success!
In my next blog post I will show you how I went about etching another one of my favourite birds. You will see the whole process from an initial sketch to the finished piece.